If you want to know how to install artificial grass, one of the most important steps is organization. Use this simple guide to installing artificial grass to make turf installation your next DIY (do-it-yourself) home improvement project.
Before You Try DIY Artificial Turf Installation
It is important to create an artificial turf installation to-do list. Include these project considerations when creating the list.
How to Install Artificial Turf
- Never overlap the seams.
- Be sure to avoid blades or thatch when nailing.
- Stretch the turf tight before installing.
- Always avoid divots and dips while nailing. Drive nails into the base but do not go too far.
- Use the grain of the turf to point towards the direction of the viewer.
How-To Install Artificial Grass (Astroturf) – in 7 simple steps!
Astroturf is another name for artificial grass – one of the most popular alternatives to natural grass in landscaping. How to install artificial grass is not as complicated as you may think. In fact, many people that have never performed a DIY home repair are able to install artificial turf with little to no assistance from a professional.
- Prepare the Base.
The first step of the artificial grass installation process is the most important. You want to ensure that the turf is properly secured and compacted.
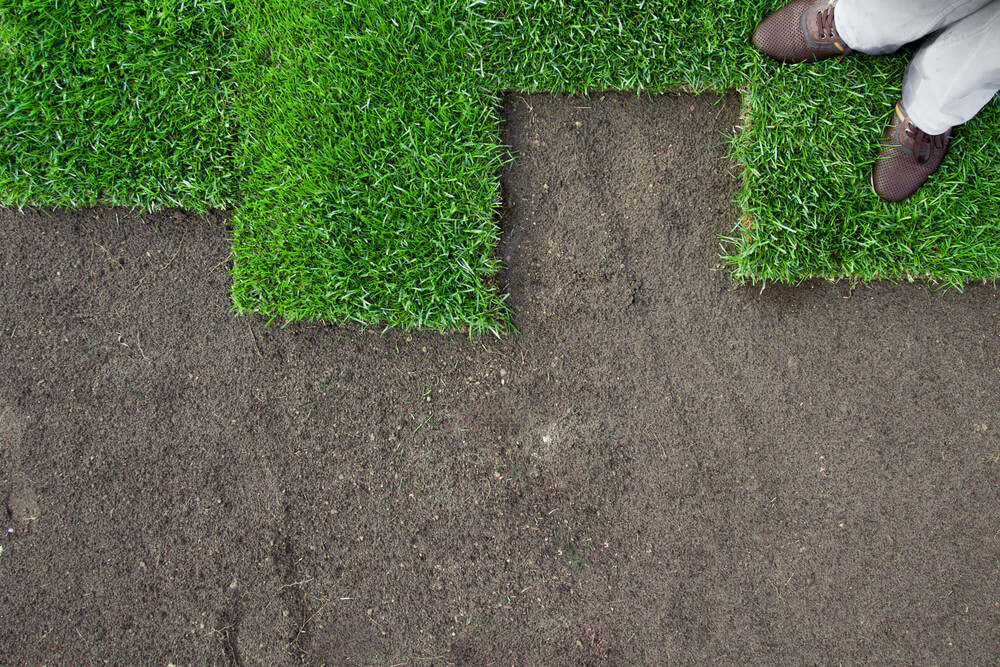
Choose the proper base material and then smooth it out until the base has an even texture. Excavate the site by removing 3” – 4” of sod/dirt. Leave a rough grade for drainage, and if there is irrigation present, cap/remove spouts.
- Install & Compact Base.
In order to lay the artificial turf down, you need a solid base. With 3” – 4” of Class II Road Base or Decomposed Granite, begin your project with a plate compactor – to 90%. Add a drainage grade with a slight angle for the best results.
NOTE: If you have pets, use a layer of Zeolite to coat the top of the base at ½ lbs per square foot, and then compact.
- Installing Weed Barrier.
If you want to prevent weeds from rooting in your artificial grass, install a barrier just underneath the installation. Unless the astroturf will be shared by your pets, a basic fabric weed barrier will suffice.
Install the weed barrier with 6”-12” overlapping seams. Secure the base with 20D nails or alternative staples.
NOTE: Avoid using a weed barrier if you have pets.
- Acclimate the Turf.
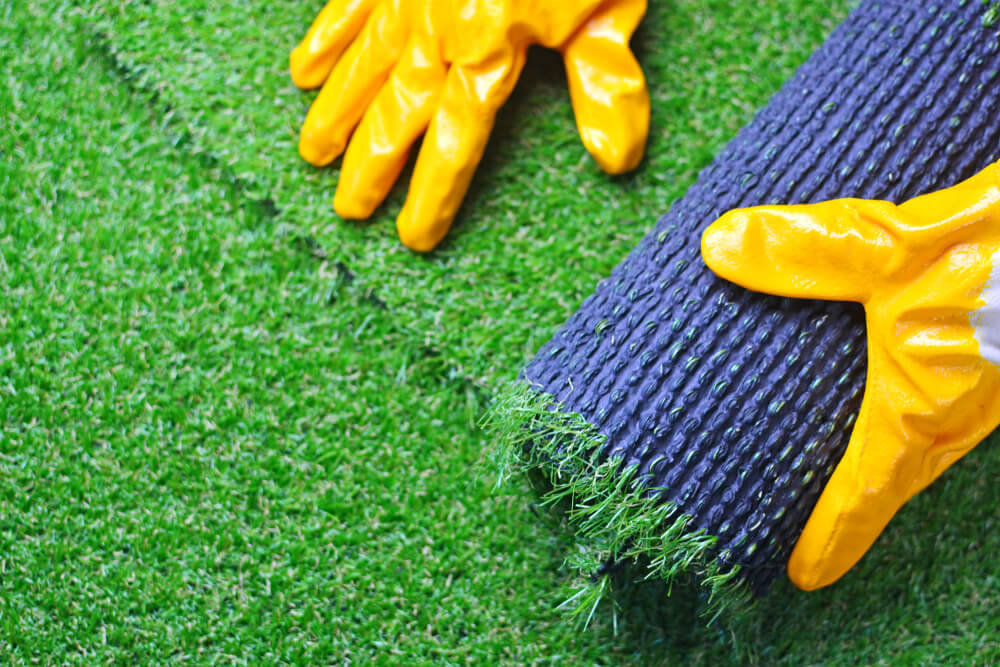
Artificial turf comes in rolls so it is convenient to store and roll out into square and rectangular shapes. It is important to unroll the turf at least two hours before you intend to install it to make it easier to work with. Exposure to the sun, while the artificial grass is completely laid flat, allows for easy acclimation and softer, more playable turf.

- Positioning and Trimming.
During this step, you can cut the turf into any shape and size you need. Position the pieces of artificial grass as you intend to secure them. Then, you will have an idea as to how each section of the turf should be laid out.
- Trimming the Turf
Use a razor knife, or utility scissors to cut the turf roughly to fit into the desired area. Ideally, you want to leave excess around the edges up to 3” for measurement adjustments. The final trimming can be performed after positioning.
- Positioning the Turf
If you do not have pets you can install a weed barrier at this time. Before installing the artificial grass, lay the turf onto the base, and then position the pieces where they need to be. Be sure to lay the pieces in the same direction to eliminate seams and fake looking artificial grass.
- Securing the Turf.
Artificial grass pieces need to be secured onto the base making it connect to each section. Fasten one end with 60D nails, spaced 3″- 4″ apart. Place each 3 – 4″ along the perimeter of the sections with 12″ – 24″ throughout the area.
- Filling the Turf.
Lastly, you can evenly spread Turf Fill and/or Zeolite Odor Control onto your turf using a drop spreader. After applying the fill, you can add a final touch of power brooming the area to work the in-fell through the blades and ensure a polished look.
Talking to a Professional
How to install artificial grass is a simple DIY project that you can take on. However, if you do need assistance tackling any step of the process, contact Cricket Pavers to talk to a professional. With a team of qualified, experienced pro’s on your side – you are sure to succeed!


