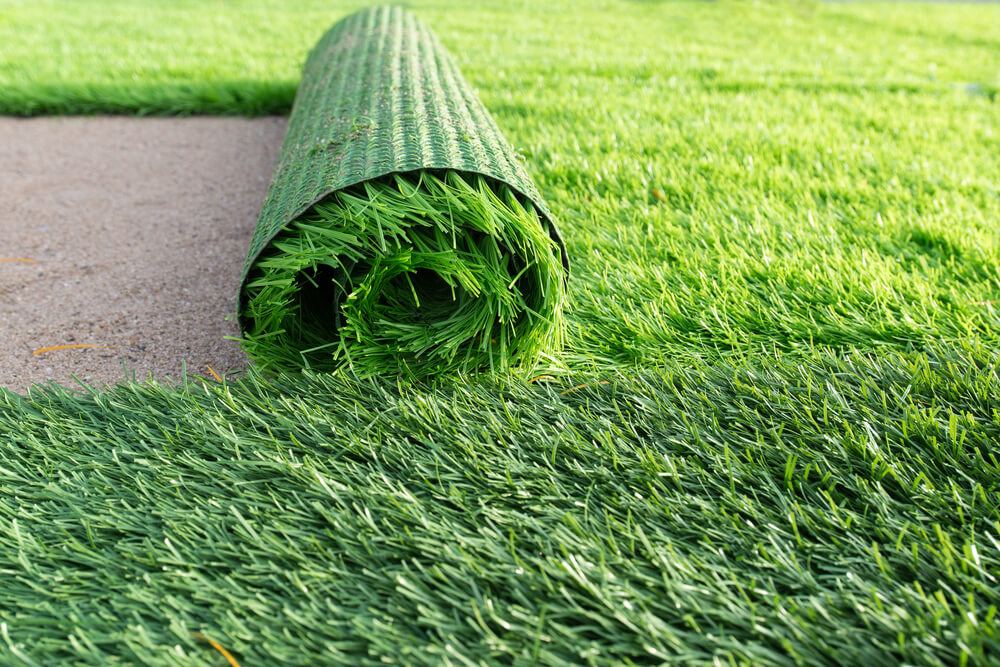
A perfectly polished yard is tough to maintain. Especially if you live in states with little to no rainfall during the scorching summer days, you must constantly have to water your lawn, both in the front and back. This is where artificial lawn comes into play.
We strongly recommend getting yourself an artificial grass installation because it will save you money, time, and patience in the long run. It is not only low maintenance but also weatherproof, doesn’t need to be watered, and can withstand wear and tear. Unlike natural grass, which often succumbs to pest problems and gets waterlogged, the artificial lawn will also solve those problems. And if you want to know more about it and are interested in beautifying your backyard, you can always request an installation quote from us.
However, while even the best artificial grass may seem easy to set up, it can often look uneven, clumpy, and with holes between the grass patches. It will seem messy, but it will also be challenging to fix and dangerous, especially if someone is not looking. This is why we will review everything you need to know on how to join artificial grass and hide joins when doing an artificial grass installation.
How to Hide Joins in Artificial Grass
If you see lines in your artificial lawn, it is because of the joins. Where two pieces of artificial grass converge is called a join. While this might seem easy, it is more complex than it shows to be. In fact, it’s one of the most demanding elements of artificial grass installation, and to become skilled, you need practice and patience. To avoid any visible lines in the grass, the pieces you are placing together must be perfectly spaced apart. Not too close, nor too far.
So, here is how to prepare the lawn for the joining of artificial grass:
- removing the turf you already have
- lay the sub base
- fit a membrane for the weed
- cut the grass to a certain size
When everything is done, it’s time to hide the joins.
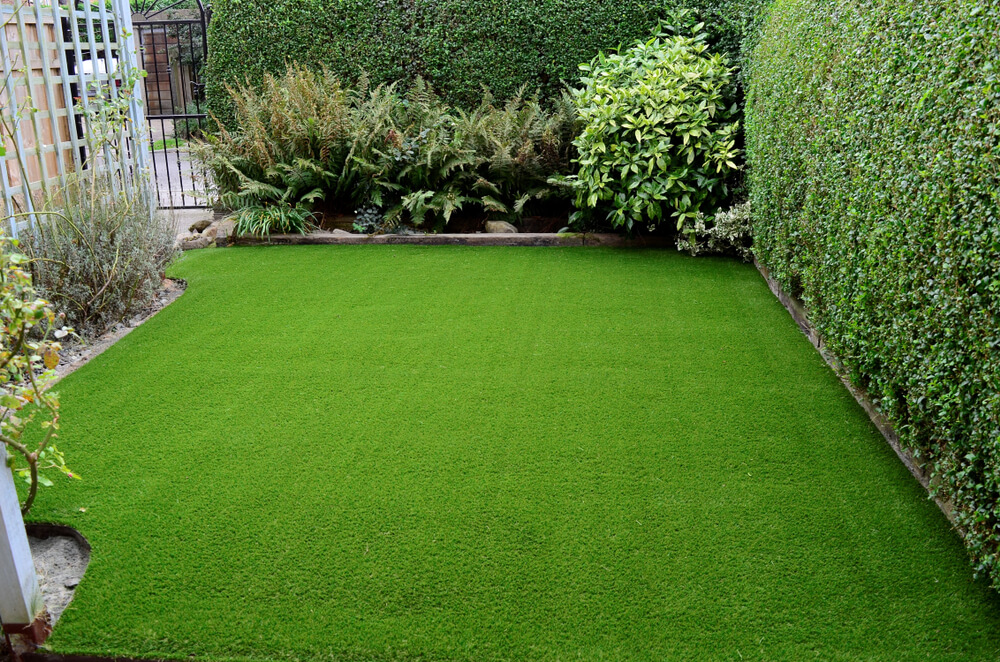
Grain Direction
Grain facing the same way is vital. Meaning that the grass has to be facing in the same direction. If you lay down two pieces next to each other and they do not match, it will be very on the nose and will not look as seamless as it should. This is why you must be careful with grain direction, as it will look sloppy and not as even as it should.
Preparing the Edge and Positioning
Preparing the edge of the grass is relatively easy. When determining the grain direction, you will need to remove the edge strip from both pieces of the grass (if there is a strip present). Once that is done, you will need to remove a couple of seams, cutting as close to the seam as possible. You will also need to remove as much as possible of the lining.
When placing the two pieces together, you must position the space between the two pieces to the same seam space. When you determine that the pieces are spaced perfectly, check the whole join and the spacing to ensure it is even before moving on to the next step. Make sure not to move the grass once everything has been spaced. You can fix them in place using pins or spread a few bags of sand on top.
Jointing Tape
You might not know what jointing tape is, but it is a fiberglass mat specially designed for joining even the best artificial grass.
Jointing tape is responsible for connecting the grass patches, so you have to do it perfectly when positioning it. The two pieces of grass you are connecting should meet in the middle, and there should be a smooth side and a rough side. When placing the tape, the rough (white) side should be on top, and the soft (green) side should be facing down.
When applying the glue, it is best to secure the tape with nails or pins to stop it from moving.
Folding the grass should be the first step when applying the glue. It might fold back, so use something to pin it down. Once the glue is laid, it will become complicated to adjust the pieces, so ensure they are even and perfectly aligned. When pouring down the glue, it is essential to apply it on the rough side of the tape in a zig-zag motion. If the temperatures are below 41°F, you have to heat the glue, either with warm water or simply leave it in the sun, if there is any, as it will make for an easier application.
Set the Lawn
You must fold the grass back over while the glue is still wet. It is best to do this with two people as there is a risk of the grass moving against the glue and causing a mess. The best way to do this is for one person to stand in the front and hold the grass to prevent it from folding, and the other to stand in front of the first person and place the two pieces together carefully to ensure as they move down the joint that the spacing is perfect.
Weight the Seam
The jointing process is a delicate matter, and it is essential not to rush. Weighting the seams is no exception. You have to put time and effort into it because the more you care, the better results you will get.
To ensure the seams are flawless, as the final step, you need to walk down the seam to confirm that the contact between the glue, tape, and grass patches is good. Weighing down the seam is recommended until the glue has dried. This will prevent any movement and ensure that the edges are blended together. Patience is key here as it may take up to 24 hours to set, regardless of the weather.

Final Thoughts
Last but certainly not least, if you are not sure or confident enough to do this on your own, we recommend you consult with an expert. There are plenty of DIY videos, step-by-step guides, and manuals on joining artificial grass, which can help you if you follow them to a T, but an expert will always do the job faster and more precisely. Please remember that if you decide this to be your side project, this endeavor is not for the faint of heart. Executing this flawlessly takes patience, skill, and a sharp eye. We hope this article will assist you if you don’t want visible seams.
Make sure you are prepared and have all the necessary materials for this project to go uninterrupted. We recommend you lay down your artificial grass in warmer weather, so you do not have to fuss with heating the glue, but also, make sure there isn’t a lot of rainfall as it takes the adhesive 24 hours to dry.
We at Cricket Pavers can help you with anything you need, regarding artificial grass and making your backyard prettier. We are a group of professionals with years of experience and are here for you. So, don’t hesitate to call us and book a consultation.
